⌘K
posts/
— ~/posts
● live
php 8
mysql
$
ls
posts/
--sort=date --reverse
// 638 posts found · last updated today
-
-
2026-07-28AI security threats are accelerating. Here are the 11 most critical vulnerabilities in 2026 — from prompt injection and data poisoning to model theft and shadow AI — with practical defenses for each.
-
2026-07-28Cycode identified 11 critical AI security threats for 2026 — from prompt injection and data poisoning to model theft and shadow AI. Here’s what they are and how to defend against them.
-
2026-07-28Apple killed the iPhone Upgrade Program and replaced it with "Apple Upgrade" — a Klarna-backed lease covering iPhone, iPad, Mac, and Apple Watch. Here is what changed and what it costs.
-
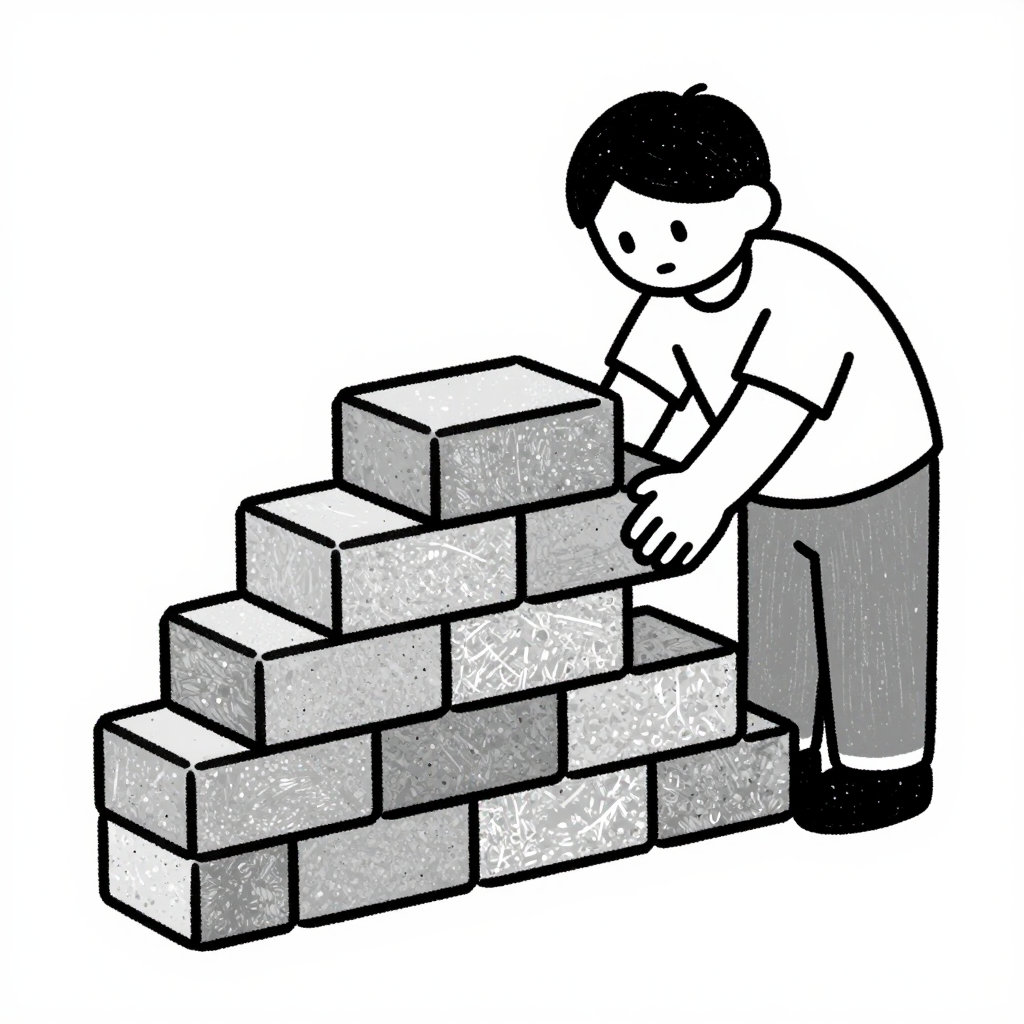 2026-07-28Stack the small wins — the mountain only cares that you kept climbing.
 -
 2026-07-27Mood is a liar. Show up on the flat days and the momentum carries you through the storm.
 -
2026-07-26Hunger outlasts talent. Stay starving for the next build.
-
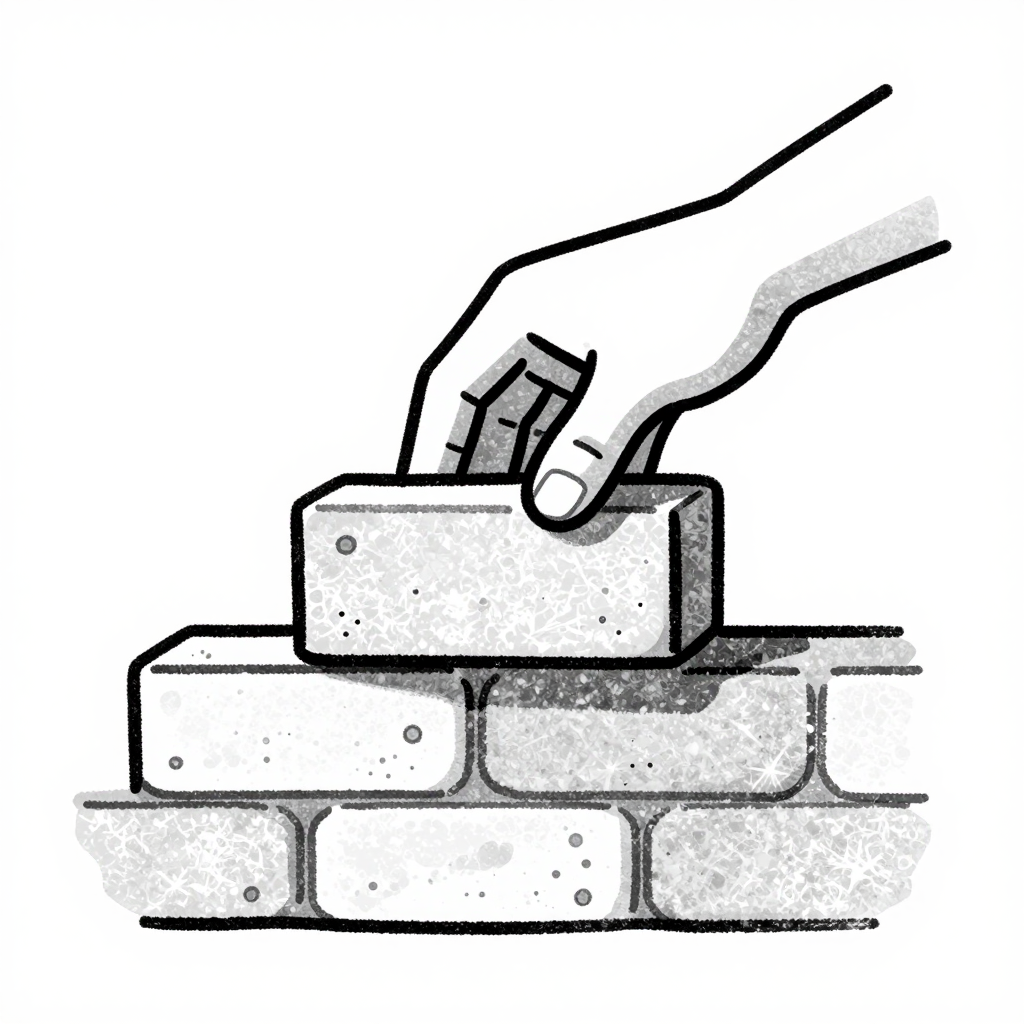
2026-07-25The come-up is quiet until it isn't — keep stacking the work.
-
2026-07-24A practical, complete guide to writing prompts that work — the 4-element framework, role/context/format/constraints, iteration, few-shot, and chain-of-thought. Synthesized from the free Prompting 101 track.
-
sidebar
— archive · cats · tags
$ ls archive/
22 years
$ ls categories/
- Affirmations 44
- AI 9
- Auto Correct Fail 3
- Banished 1
- Biking 5
- Casual 29
- DayZ 2
- Funny Pics 64
- Gaming 16
- Gardening 1
- GTA V 4
- Just Plain Dumb 8
- Medifast 1
- Minecraft 5
- Poetry 36
- Recipes 16
- Rust 5
- Server 7
- Star Wars 5
- Stardew Valley 3
- Stuff I see at work 419
- Ubuntu 4
- Useless Info 4
- Web Design 4
- Weight Loss 7
- YouTube 3
$ ls tags/
funny:109
affirmation:50
daily:50
sisaw:41
wtf:19
gaming:18
youtube:14
craft:12
focus:11
AI:10
squarshy:8
garlicky:8
discipline:7
cooking:7
pashdown:6
boom:6
benjii:6
recipes:6
grind:6
IT:6
momentum:5
logan:5
minecraft:5
aaron:5
motivational:5
rust:5
tutorial:4
reflective:4
xbox360:4
Biking:4
growth:4
Weight Loss:4
chili:4
GTA V:4
food:4
jab:4
patience:4
building:3
atoponce:3
mobile:3